Launching the Webdriver
Double-click on the Immunization Webdriver icon. You will see a black-and-white blank screen launch (it may persist for as long as 30 seconds the first time you run it on a workstation.) The Immunization Webdriver user interface window appears. This is the window that you use to control the program. When you are running the Immunization Webdriver, an instance of Chrome will also appear.
Choosing input and output files
Every time you’ll launch the Immunization Webdriver, you’ll identify which immunization file you want to run, as well as identify the folder and file name for the result file produced by the program.
The vaccine file that you obtain from your EMR is the “input” file (that is, although it is exported from your EMR, it imports data into the Immunization Webdriver) and the result file generated for this batch of data is the “output”file.
To set your input file, click the Vaccine spreadsheet file button to navigate to the immunization file you want to run.
To set your output file, first select a folder: click the Folder for output button to navigate to the folder you want your results to go in.
In the Output spreadsheet box, enter an Excel filename to use for the results spreadsheet. We recommend choosing a file name that relates to the input file it came from. For example, if your input file is 03-01-2018_vaccines.csv, you might choose 03_01_2018_results.xlsx.
Be sure to append your file name with .xlsx.

In this example, the source immunization file is called July_EHR_vax.csv in a folder called C:/Users/sberman/Box Sync/NCIR_practices/old and samples/.
The resulting output file will called July.xlsx in the folder C:/VSHPScraper.
Uploading your vaccines
To start a batch upload, click the Upload vaccines button.
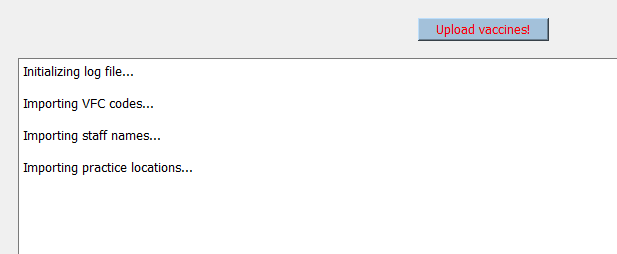
The Webdriver will begin working. The Upload vaccines button will turn red, and the lower panel in the screen will indicate what it is currently processing.
Part 1: Precheck sequence
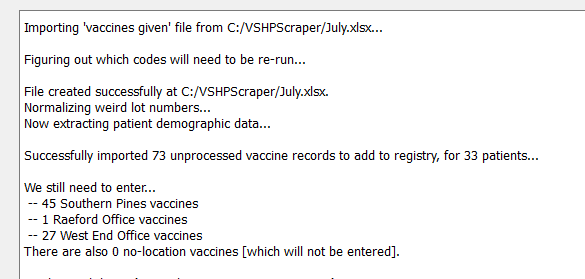
The first part of an Immunization Webdriver run is a “precheck” sequence in which the rows of data are checked for completeness. Any unusual data (such as unusual date formats) is normalized according to a protocol. There is also an error-checking sequence. If, for example, a VFC eligibility is missing or a lot number is empty, the script will identify this row, mark it with an error code, and set it aside without attempting to upload it. Any historical immunization data is also removed during this process.
The Immunization Webdriver will count the number of remaining patients and immunization rows, grouped by location.
It is common, especially when running a very long list of immunizations, for the Webdriver to experience Internet interruption. If your file has successfully entered 453 out of 800 immunizations, but experiences an error, it will stop and save what it has (453 finished immunizations) in the output file. To pick up where you left off (immunization #454), rather than start over with immunization #1 in the list, check the Rerun/continue the Output file box:
![]()
Part 2: Upload sequence
After the Webdriver has completed error checking, it will start uploading vaccines to NCIR. An instance of Chrome will launch. The program will automatically enter your username and password, set your practice’s location, and start uploading data to the NCIR portal.
You can follow the progress of the Webdriver by watching Chrome and the NCIR screen. However, you can also minimize these screens if you wish.
The steps for each patient record in the upload sequence are:
- Change the practice location, if needed (multisite practices only)
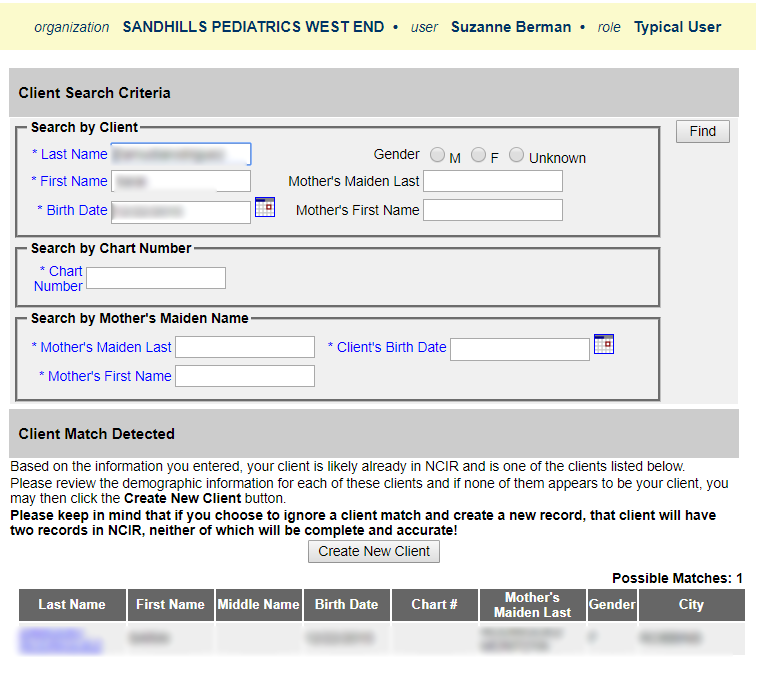
- Enter the patient’s name and date of birth and look for a match
- If the first name, last name, and DOB match 3/3 in a result, that patient is chosen.
- If 2/3 match exactly with the third being a close match, that patient is chosen.
- If no good match can be found, then the script will search by your practice’s chart number in NCIR.
- If no matching chart number can be found, then it moves on to the next patient.
- Compare the vaccines already in NCIR to the vaccines to be uploaded. If some or all of the vaccines already are present in NCIR (i.e. someone entered them manually at the time of administration so a form could be printed), the Webdriver will not try to enter them a second time.
- For vaccines not already present, the Webdriver will click the “Administered” boxes for those vaccines and choose the ordering physician and administering individual (usually a nurse or MA).
- For each vaccine to enter, the Webdriver will enter the VFC eligibility status of that patient.
- The Webdriver will then look for a match between the documented lot number and the available lot numbers in NCIR for that VFC eligibility and vaccine.
- If a perfect match can be made, the Webdriver will save that information; if not, it will cancel the entry.
- The Webdriver then moves to the next patient.
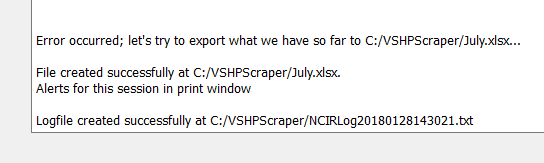
When the Webdriver closes a run, it will indicate that it has saved its progress in the output spreadsheet file and give the name of the logfile. The logfile is simply the output of the lower progress pane in a text file. When the Webdriver stops, the Upload Vaccines buttons changes from red back to grey again.
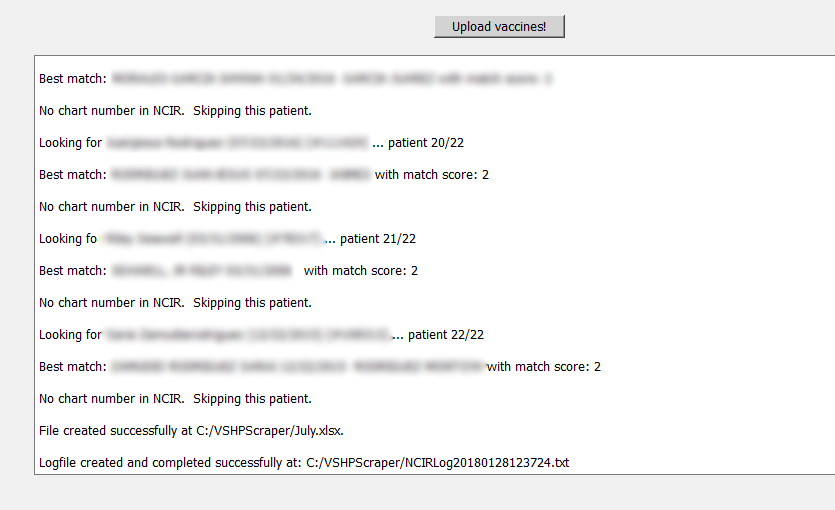
If the Webdriver must end prematurely because of an error, the closing message will so indicate: